This post may contain affiliate links. This just means I may receive a small commission at no extra cost to you for helping them promote their product or service. I don’t endorse any services I don’t personally use or recommend.
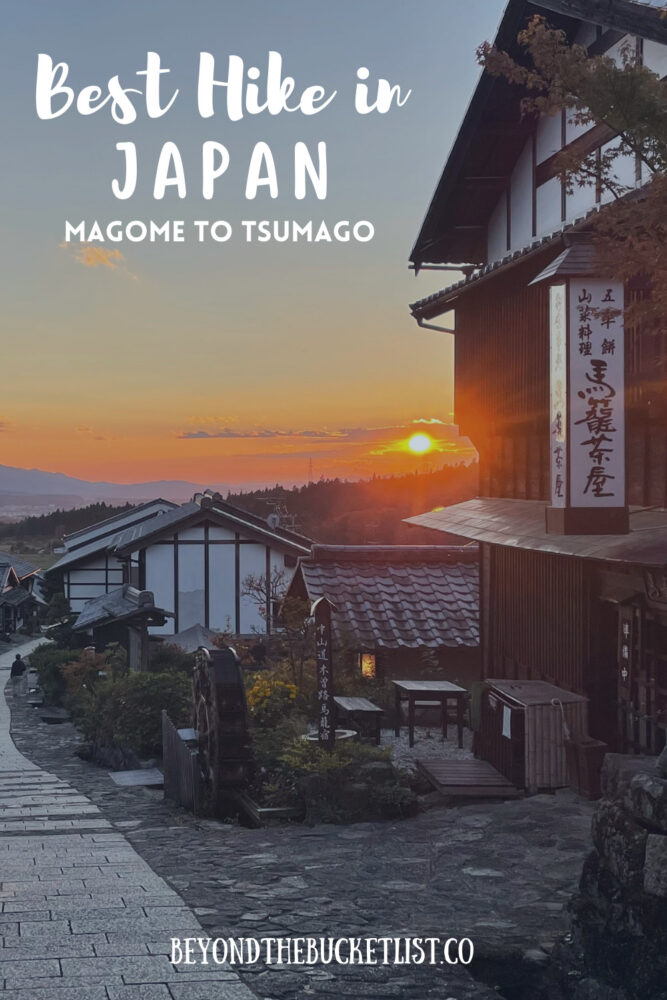
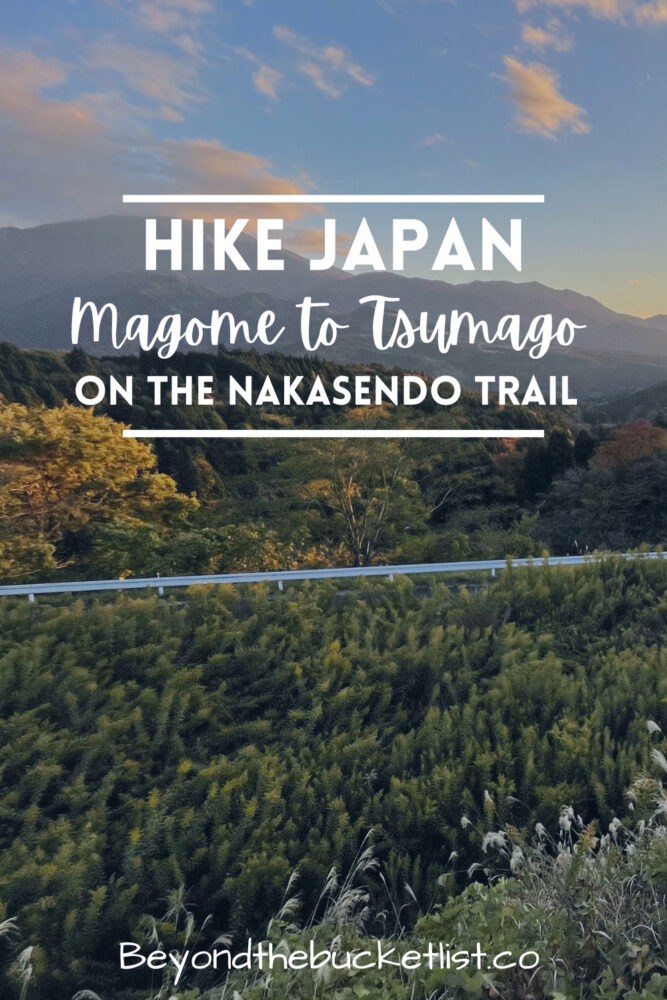
Traveling in Japan can feel like you’re hopping from one city to another. Slowly, it all starts to blur together. Neon lights, incredible food, endless crowds of people. But the Japanese countryside is another destination entirely. For starters, it’s far less visited by international tourists anyways. Our favorite day in the country by far was spent hiking the Nakasendo Trail from Magome to Tsumago in the lovely hillsides of rural Japan.
Since it’s not so popular with tourists yet, we figured we would do a quick write up helping you navigate how to reach Magome and what you need to know before you hit the trail.
What is the Nakasendo Trail? (& why you should hike it.)
The Nakasendo Trail was one of 5 trade routes that cut through the small towns of Japan connecting Kyoto and Tokyo during the Edo period. During this time it was a footpath only. Much of the historical trail has been preserved for hiking today.
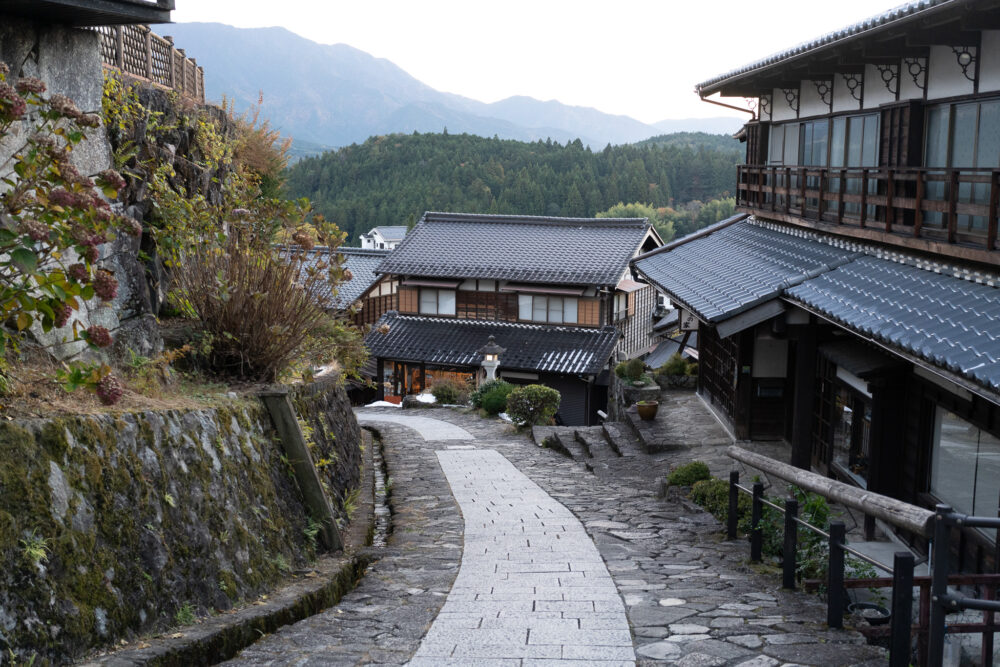
Even many of the small trading villages along the path, specifically Magome + Tsumago, have been preserved in the traditional style so that you can walk through history. That’s what makes this trail so unique.
Why You Should Hike the Nakasendo Trail?
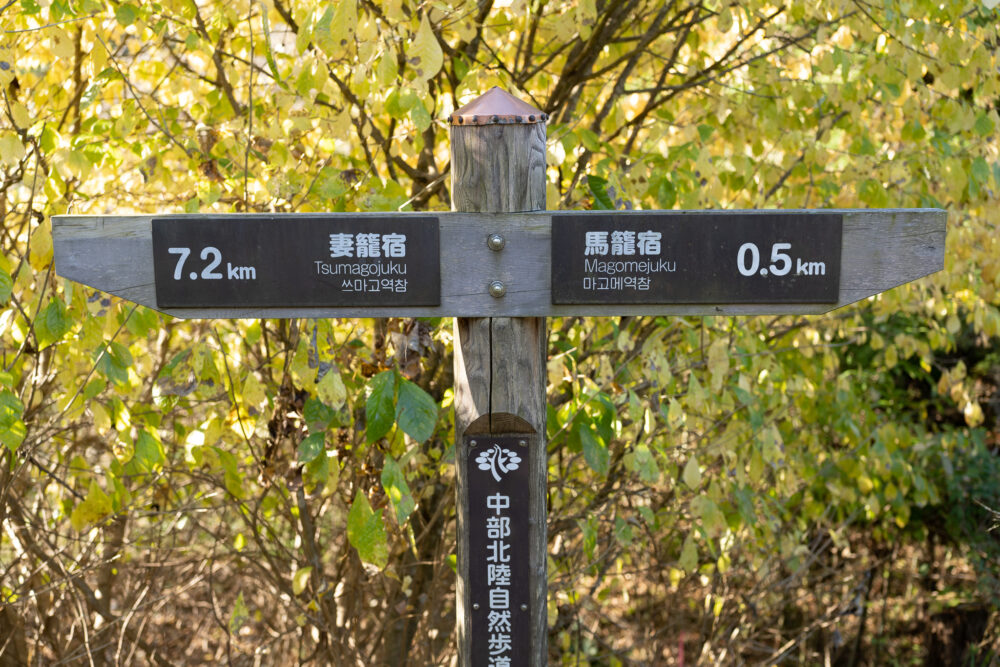
While you could hike the entirety of the trail if you had a month or so to commit to the adventure, that isn’t likely. This specific hike from Magome to Tsumago is the perfect portion for the average traveler to hike.
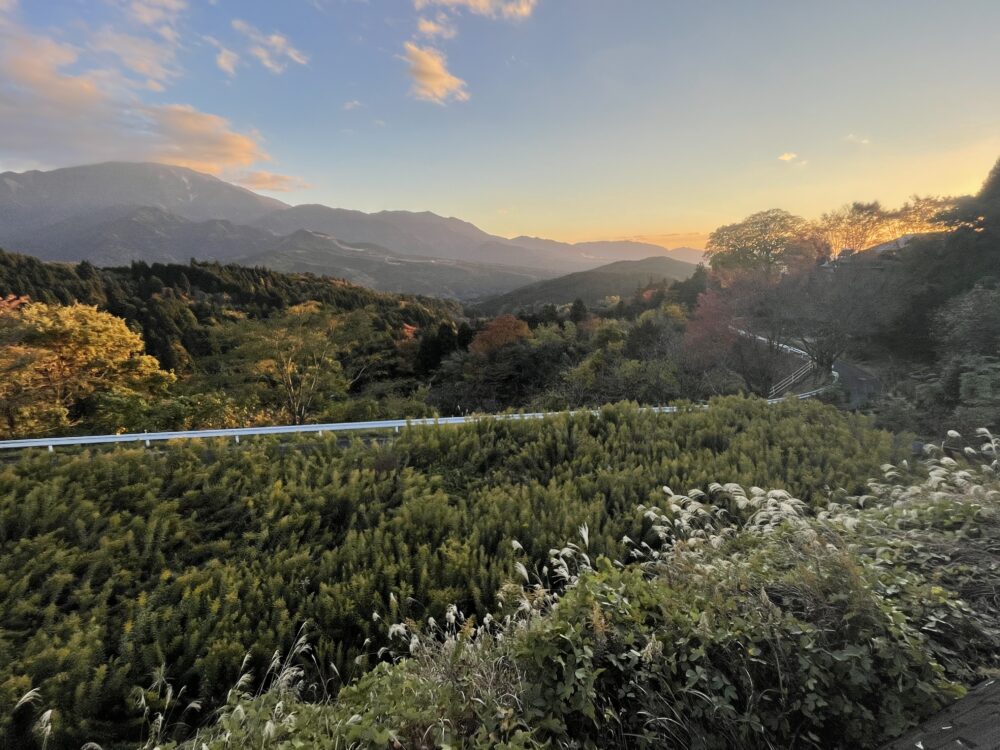
For starters, it only takes a single day. It offers incredible views of the surrounding hillsides, you get a taste of rural Japan, there are almost no foreign visitors to the area which means significantly fewer crowds, and the architecture in this area has been preserved in a particularly scenic era. These towns embody the Japan you envision when you daydream about samurais and geishas.
Some trekkers continue along to Nagiso, but the trail from Tsumago to Nagiso is short and doesn’t really add much to the scenery. I do, however, recommend hiking up the hill to the “castle” in Tsumago for great panoramic views. Especially if you’re hiking during the fall foliage time.
Our step-by-step guide to Hike Magome to Tsumago
Here’s everything you need to know about hiking this small portion of the Nakasendo Trail.
Getting to Magome from Kyoto (or reverse)
Getting around the Nagano prefecture is a little less straightforward than others in Japan. Namely, because there are more buses and fewer trains. Since Magome is pretty much right between Tokyo and Kyoto most travelers will be coming from or going to each after your hike is finished.
I’ll be explaining the route we took in detail (Kyoto– Magome- Tokyo) but just know you can also follow these directions in reverse.
From Kyoto your best option, unless you want to spend a whole day on the bus, is to take a bullet train from Kyoto Station to Nagoya Station & then hop on a bus at the Meitetsu bus center (5 min walk) to Magome. This bus runs hourly and drops you off on the highway a 10 min walk to town. If you want to take the bus back you’ll need to purchase a round-trip ticket at this bus station in Nagoya BEFORE you head to Magome. You cannot purchase one in town or online.
You can see all your options with the prices of each by plugging your route into Google Maps. It’s really that easy in Japan.
Where to Stay in Magome
Accommodation options in Magome are limited and fill up quickly during the peak domestic tourism seasons of fall and spring. I highly recommend booking early if you’re on a budget.
We booked late but were lucky enough to score a traditional tatami mat room in Magome Chaya, a lovely Ryokan-style accommodation in the middle of town. We chose just to book a room (because it was already on the pricier side at $58 per night) but you can also opt for dinner + breakfast service if you’re so inclined.
Another great thing about this property is that it had a traditional onsen tub that was free to use for all guests!
Things You Need To Know To Hike the Trail
1. Cash is King
Magome does have an ATM (at the post office) but keep in mind it’s the only one around and all three towns operate on a cash-only basis. Even our guesthouse required us to pay 100% in cash.
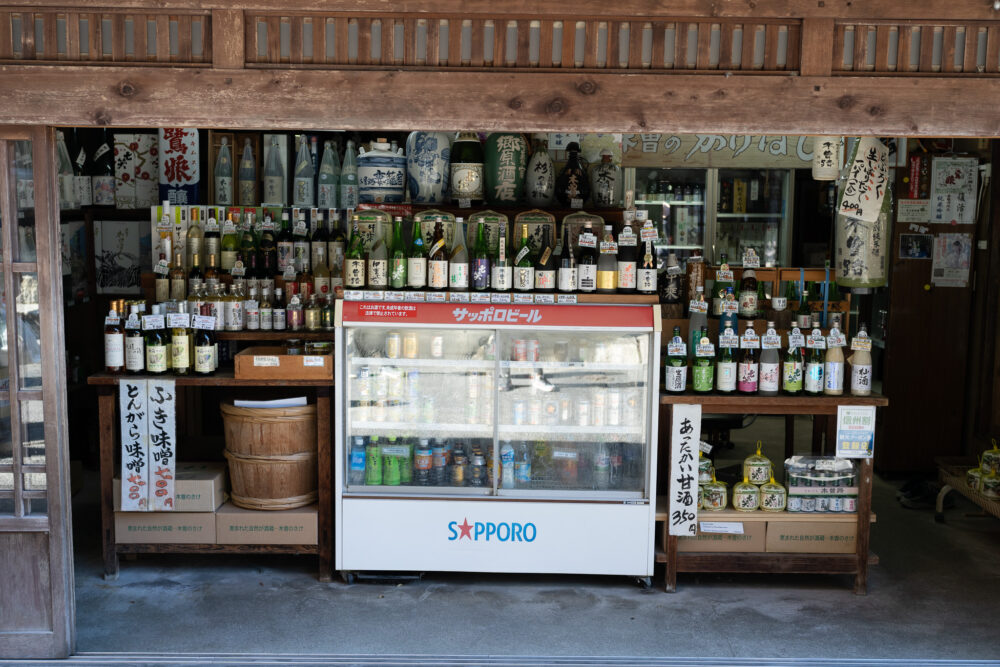
2. Shops in Magome are not your typical Japanese convenience stores.
Since this town is totally catered to tourism, the shops were expensive and had tourist items rather than simple meals. You should plan to bring ALL your own food and snacks for the trail from wherever you’re coming before.
3. Everything is closed from 5 PM to 9 AM.
I mean it. Everything. If you don’t plan to pay for dinner at your accommodation you’ll need to plan ahead and bring instant noodles or some other easily-made meal from Kyoto before you grab the bus. Breakfast too if you plan to hit the trail early (which you should).
4. There is a luggage service to Tsumago if you don’t want to come back to Magome.
For 500 yen, you can leave your stuff at the tourism office in town at 9 AM when they open and have your things shuttled to Tsumago. This is mostly for people who then want to take the bus to Nagiso and then the train from Nagiso to Nagoya. It’s yet another option for getting around the region but we found our way actually worked out cheaper and then we could leave before the tourism office opened.
5. Town is busiest mid-day which is why you should get up and hike early.
All three towns get packed with day trippers and tours around 10-11 AM. If you can do your hike before then and see the streets empty you’ll have the best experience on the trail.
6. About halfway along the trail is a tea house that’s totally free.
Stop here to warm up and drink some green tea. We even got some little ume plums to enjoy. Donations are welcome.
7. Nagiso is an additional 90 min or roughly 4 km hike if you feel like continuing.
The walk is easy and a lot is near the road so bus stops are everywhere if you decide to quit. We didn’t because as I mentioned before, it wasn’t supposed to be that scenic of a route and we planned to leave for Tokyo the same day.
8. Tsumago is fairly expensive & there will be lots of domestic tourists.
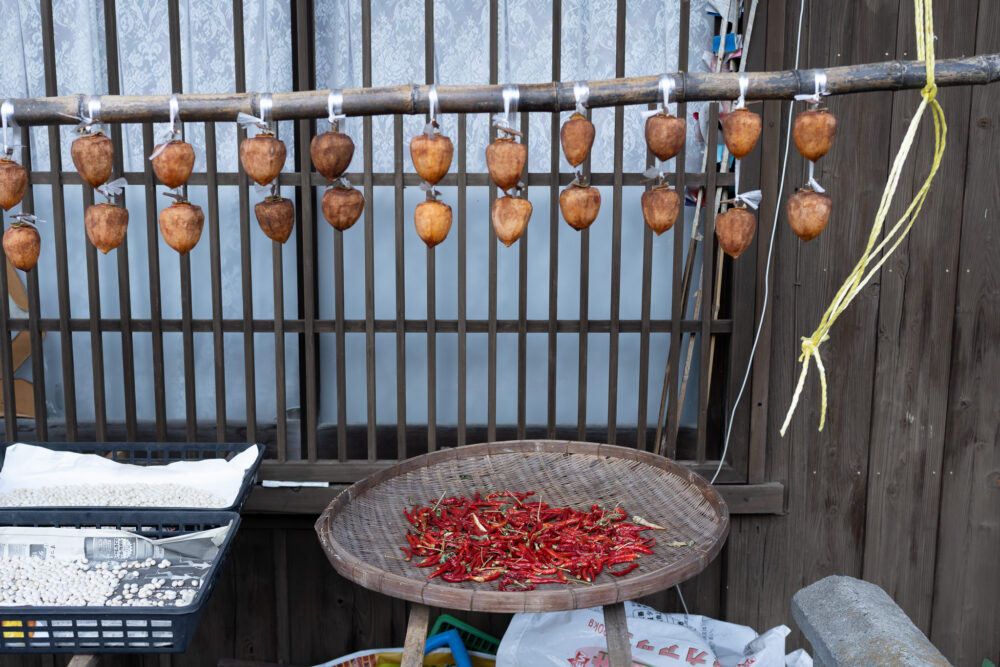
While the trail is virtually unknown to foreign tourists it’s quite popular with domestic travelers. Food and lodging in Tsumago are equally if not more expensive than in Magome which is why I don’t recommend sleeping in the town. You should try the apples and dried persimmon that make the region famous. There is also a small shop selling Oyaki buns stuffed with local ingredients for about $1 apiece.
If you arrive after 10 AM, expect the town to be busy and filling up with tourists.
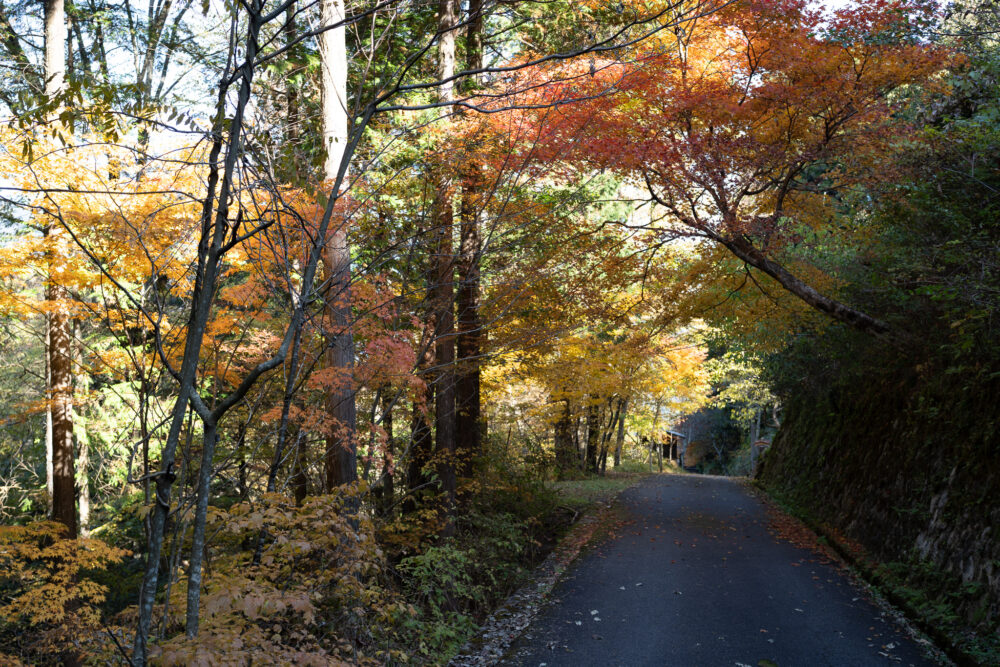
9. The hike is very easy and makes for a great scenic stroll.
Don’t expect anything too intense from your hike. For the most part, the trail is flat and very easy to follow. Technically, you do have to watch out for bears in the area. The trail has several bells to ring to scare them off, but sightings are incredibly rare.
Getting from Nagiso or Tsumago back to Magome
Whether you’ve decided to walk all the way to Nagiso or just to Tsumago, there are buses that run you back to Magome 5-6 times per day. It runs about every hour and a half after 9 AM. The route you’ll likely take if you start the day early like us is the 10:15 AM or 12:45 PM bus to Magome.
You can locate the bus stop easily on maps.me. The town is small so you can’t miss it.
It costs about 600 yen per person ($4) to ride from Tsumago and a little more from Nagiso.
Getting to Tokyo from Magome (or reverse)
To leave Magome you’ll most likely come back the way you came. This means a bus back to Nagoya.
Option 1: If you want to take the bus back you’ll need to purchase a round-trip ticket at the bus station in Nagoya BEFORE you head to Magome in the first place. The buses don’t stop at every location and the return buses are not as frequent. We failed to do this so we had to opt for option 2 below. Just make sure you give yourself enough time to complete your hike.
Option 2: Since we only bought a one-way ticket, we took a short bus from Magome to Nakasagi at 1:50 PM (they have them hourly), then hopped on a regular train at Nakasagi Station to Nagoya (it looked like a metro), and then the bullet train or Shinkansen from Nagoya to Tokyo. It was a long travel day considering the hike, the bus back to Nagoya, and then the three modes of transport to Tokyo but it was totally worth it to experience this lesser-traveled region.
Google Maps actually has a very accurate timetable for the buses and trains in the region. If you’re a little confused about how you’ll get from point A to point B then just plug it into Google Maps and it will show you all the options including the prices!
This was easily one of my favorite days in Japan. Mostly because it was something different from all the ultra-modern cities and foodie destinations. I love a good hike and one day I would love to come back and venture further along the trail. Let me know if you have any questions about the hike in the comments!
Save This Post for Later!